 Pictured above are a few Christmas gifts that I made this year. They are pamphlet sewn books with fabric covers. A notebook to jot down grocery lists, music, or general to-do lists were the end-uses I had in mind for these checkbook sized books. They were each wrapped with an extra set of pages. The cover is secure, but easy to remove when it is time to replace the pages.
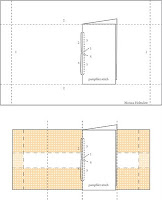 I made this diagram to demonstrate the 3-hole pamphlet stitch and the folding process of the cover. Click on any of these images to get a larger view. I've made many of these covers using paper, and discovered a few differences should be employed when using cloth. As in the paper version, sewing and adhesives are unnecessary. It is necessary, however, to use a hot iron, rather than a bone folder to make creases. The dotted line on the left and the right indicate the first fold which is unique to this fabric version. I found that it made for a cleaner look to have a folded edge on the inside of the wrapper. In the future I might introduce thread to the wrapper by serging or hemming that inside edge.
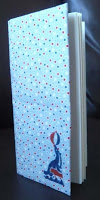
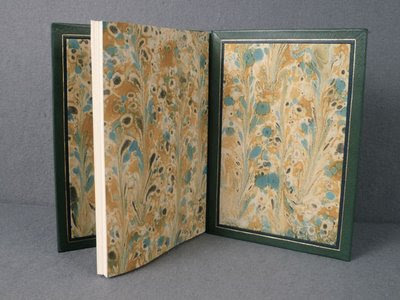
 Here are standing versions of the book, so you can peek inside and see how the wrapper extends all the way inside to the valley of the folds.
The image of the seal on the book to the left (and below) was transferred onto the cloth using a Vogart hot iron transfer pattern. I have an assortment of these and have had luck finding them at antique stores and garage sales. I've also come across some on etsy.com.
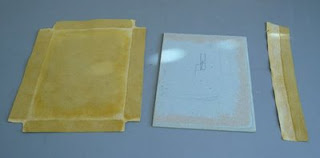
 In its original form, the image looks like a layer of acrylic painted on very thin parchment paper. The side with the pigment is placed directly on the surface of cloth or paper. Use a hot iron on the back of the parchment paper until the pigment is transferred to the new surface and the parchment readily peels away from the newly pigmented cloth or paper. If heat is not applied long enough, bits of the parchment will remain. The image will still transfer, but it can be rather time consuming to pick off the little bits of paper! Just test the corner of the parchment before you pull it off completely.